0과 1 사이
yolo Map 측정 디버깅 본문
yolo를 이용할 때 test set에 대한 Map(정확도)를 측정하는 툴이 있다.
물론 yolo를 이용해 트레이닝 시키는 과정에서 validation data를 지정해두면 그에 대한 정확도를 알아낼수 있지만,
트레이닝이 끝난 이후 test set에 대한 정확도를 측정하는 것이 가장 클래식한 방법이기 때문에 이를 진행해보려 한다.
아래 툴을 이용했다.
https://github.com/Cartucho/mAP
GitHub - Cartucho/mAP: mean Average Precision - This code evaluates the performance of your neural net for object recognition.
mean Average Precision - This code evaluates the performance of your neural net for object recognition. - GitHub - Cartucho/mAP: mean Average Precision - This code evaluates the performance of your...
github.com

위와 같이 클래스 별로 정확도를 알려준다.
사용방법은
https://keyog.tistory.com/44
Object detection mAP 측정방법
Object detection mAP 측정방법 해당 문서는 Object detection의 성능 평가를 위한 mAP측정 tool 사용방법을 안내하는 문서 입니다. 해당 방법은 YOLO를 기준으로 설명합니다. mAP tool 다운로드 git clone YOLO..
keyog.tistory.com
이 블로그를 조금 참고해보자.
정확도를 측정하려면 총 다섯가지 준비작업이 필요하다.
1. 라벨링한 이미지에 대한 절대경로가 담긴 txt 파일
2. 라벨링한 이미지들
3. 각 이미지에 대한 txt파일
4. yolo를 이용해 이미지들에 대해 실제 detect 해본 결과를 담은 result.txt 파일 생성
5. 위 결과에서 만들어진 result.txt 파일을 이용해 이미지 파일별로 detect 결과 txt를 만들어주는것.
2,3 번의 경우 그냥 라벨링하는과정이라 패스.
1번도 쉽게 생성 가능하다. 무조건 절대경로여야 함. 상대경로 안됩니다. 제가 해봤습니다..
4번도.. 블로그에서 본대로 따라하면 쉽게 된다.
문제는 5번! convert_dr_yolo.py를 아무리 실행해도 mAP/input/detection-results 폴더에 파일이 생성되지 않는다.
그래서 코드를 살펴본 결과
블로그에 나와있는 result.txt는
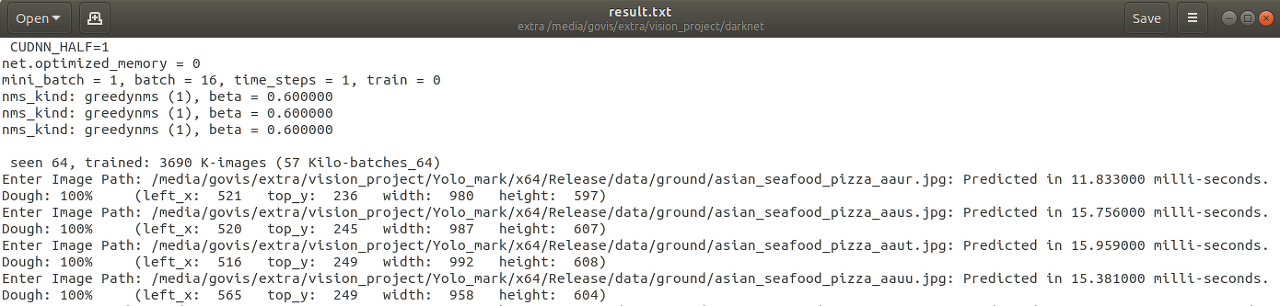
이렇게 되어있다.
그러나 내 result.txt를 확인해보니
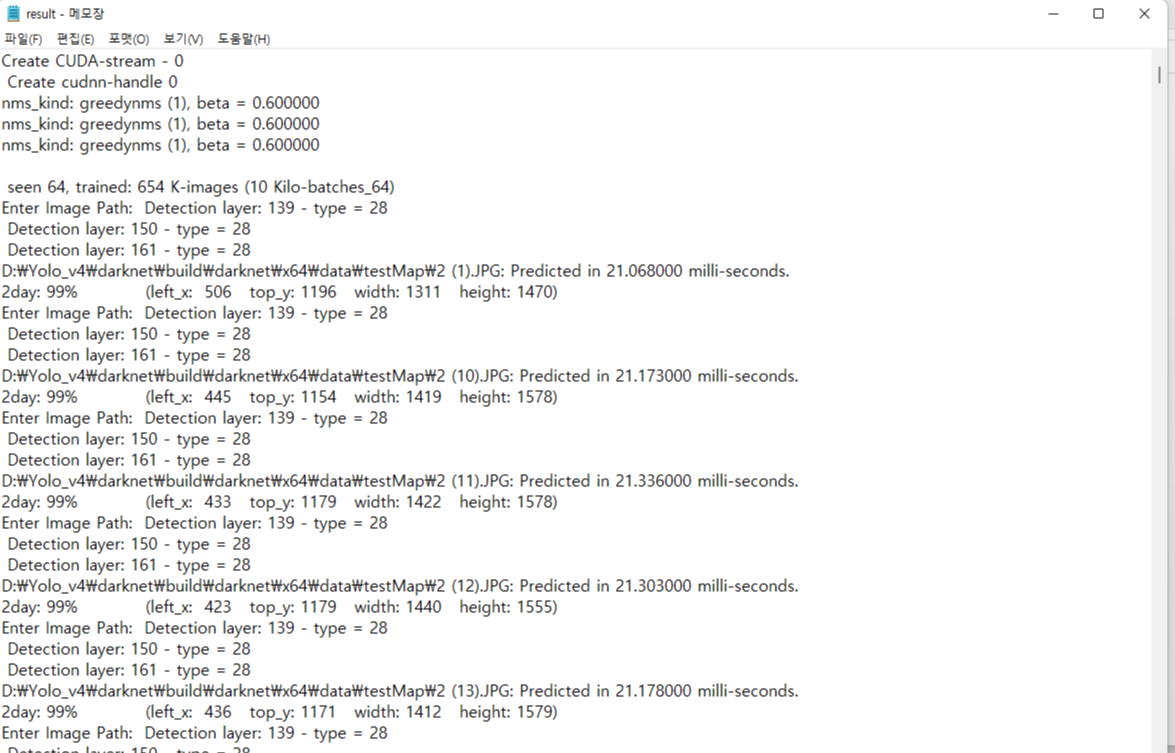
살짝 다르다. 내 result.txt 에는 Enter Image Path 뒤에 바로 경로가 나오는 것이 아니라 Detection layer에 대한 설명이 나와있다.. convert_dr_yolo.py에서는 Enter Image Path: 를 인식해서 그 뒤에있는 경로를 가져오도록 되어있는데 내 파일에서는 그 뒤에 경로가 나오지 않으니 에러가 난 것이다.
그래서 우선 내 result.txt에 있는 detection layer : 139- 뭐시기 저시기 반복되는 문장이 있는데
얘네를 모두 삭제해줬다. 걸리적 거림
그냥 문장 전체를 복사해서
모두 찾기- 공백으로 바꾸기 하니까 다 지워짐
그 뒤에 코드를 수정했다. 이상하게 원래 코드가 안먹혀서 보니까 수정할 내용이 좀 있었음
수정한 부분은 빨간색으로 표시했다
import os
import re
# make sure that the cwd() in the beginning is the location of the python script (so that every path makes sense)
os.chdir(os.path.dirname(os.path.abspath(__file__)))
# change directory to the one with the files to be changed
parent_path = os.path.abspath(os.path.join(os.getcwd(), os.pardir))
parent_path = os.path.abspath(os.path.join(parent_path, os.pardir))
DR_PATH = os.path.join(parent_path, 'input','detection-results')
#print(DR_PATH)
#os.chdir(DR_PATH)
SEPARATOR_KEY = 'Enter Image Path:'
IMG_FORMAT = '.JPG'
outfile = None
with open("result.txt") as infile:
for line in infile:
if SEPARATOR_KEY in line:
continue
if IMG_FORMAT in line:
# get text between two substrings (SEPARATOR_KEY and IMG_FORMAT)
image_path = re.search('(.*)' + IMG_FORMAT, line)
# get the image name (the final component of a image_path)
# e.g., from 'data/horses_1' to 'horses_1'
image_name = os.path.basename(image_path.group(1))
# close the previous file
if outfile is not None:
outfile.close()
# open a new file
outfile = open(os.path.join(DR_PATH, image_name + '.txt'), 'w')
elif outfile is not None:
# split line on first occurrence of the character ':' and '%'
try:
class_name, info = line.split(':', 1)
except ValueError as e:
pass
info = info.strip()
try:
confidence, bbox = info.split('%', 1)
except ValueError as e:
pass
# get all the coordinates of the bounding box
bbox = bbox.replace(')','') # remove the character ')'
# go through each of the parts of the string and check if it is a digit
left, top, width, height = [int(s) for s in bbox.split() if s.lstrip('-').isdigit()]
right = left + width
bottom = top + height
outfile.write("{} {} {} {} {} {}\n".format(class_name, float(confidence)/100, left, top, right, bottom))
#outfile.close()
#outfile = None
이렇게 수정하니까 잘 실행된다. 혹시나 이 포스팅을 보고 따라하시는 분이 있다면 그냥 복붙하지 말고 본인의 result.txt를 확인한 후에 코드를 좀 바꿔서 실행하길 바란다.
결과!
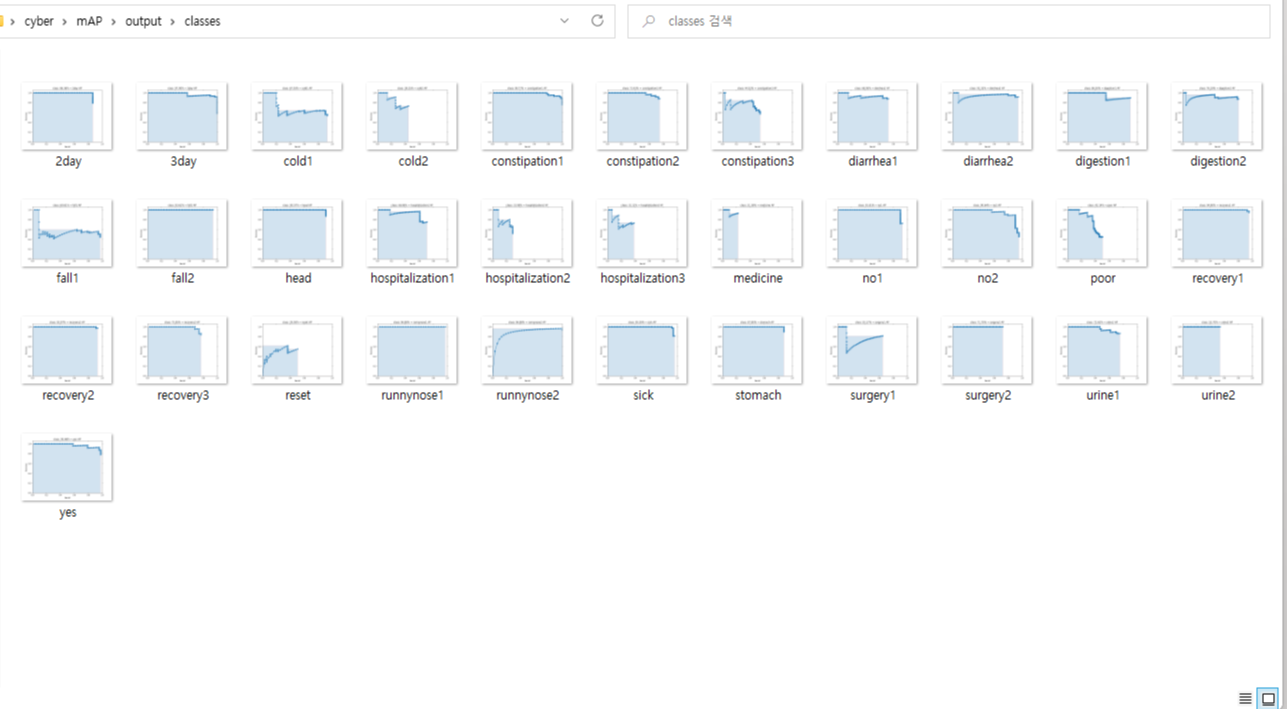

하하 라벨링을 더 해야겠다
'디버깅' 카테고리의 다른 글
| [Spring boot] JAR 파일에 application.yml 파일이 포함되지 않는 이유 (0) | 2025.02.08 |
|---|---|
| [파이썬]split할 때 ValueError: not enough values to unpack (expected 2, got 1) (0) | 2021.08.03 |
